
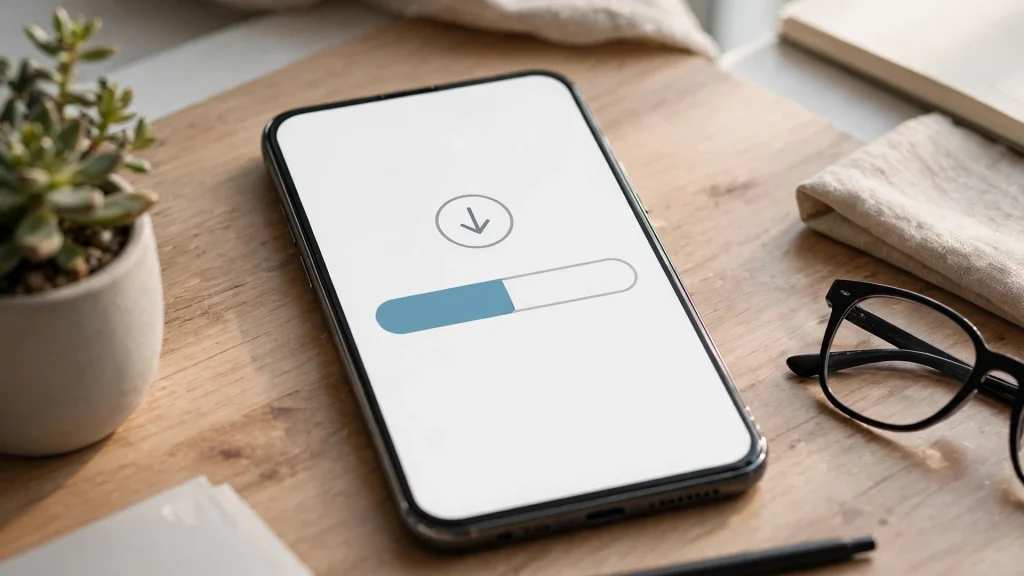
A spinner tells the user to wait, but a progress bar tells them how long the wait will be. That difference matters. A user who sees a bar filling up is patient, because they can see the end coming. A user who sees only a spinner has no idea if the task will take two seconds or two minutes. MBProgressHUD lets you show a determinate progress bar, a horizontal bar, or a ring that fills as the work progresses. This guide shows you how to set up each one and how to update it as your task runs.
Before you start, make sure MBProgressHUD is installed and imported in your view controller. The install guides in this series cover Swift Package Manager, CocoaPods, and the other methods. The library requires iOS 9.0 or later and ARC. The code in this guide works in both Swift and Objective-C, and both versions are shown where they differ.
Choose the Right Mode
MBProgressHUD has three determinate modes. The determinate mode shows a round pie-style progress indicator that fills as the work progresses. The determinate horizontal bar mode shows a thin bar that fills from left to right. The annular determinate mode shows a ring that fills around a circle. All three show the same information, so the choice is mostly about style and space.
Use the determinate mode when you want a compact indicator with a clear sense of progress. Use the horizontal bar when you want a wide indicator that fits under a label. Use the annular ring when you want a modern look that matches the spinner style. For a download, any of the three works well. For a file upload, the horizontal bar is a good choice, because it reads like a classic upload bar.
Set the Mode and Show the HUD
To show a progress bar, you create the HUD, set its mode, and then show it. In Swift, the code looks like this: let hud = MBProgressHUD.showAdded(to: self.view, animated: true), then hud.mode = .determinate, then hud.label.text = “Downloading”. In Objective-C, you write MBProgressHUD *hud = [MBProgressHUD showHUDAddedTo:self.view animated:YES], then hud.mode = MBProgressHUDModeDeterminate, then hud.label.text = @”Downloading”.
You can set the mode before or after you show the HUD, but setting it right after you create it is the clearest way. You can also set the label text at the same time, so the user knows what is downloading or uploading. Keep the label short, such as “Downloading” or “Uploading photo”, and let the bar show the progress.
Update the Progress as the Task Runs
The progress value runs from 0.0 to 1.0, where 0.0 means nothing is done and 1.0 means the task is finished. As your task makes progress, you update the value. In Swift, write hud.progress = 0.5 when the task is half done. In Objective-C, write hud.progress = 0.5. The HUD will redraw the bar or ring to match the new value.
One useful detail is that the setProgress setter is thread-safe, which means you can update it from a background thread. Most other HUD operations must run on the main thread, but progress updates are safe from the background. That is handy when your download code runs on a background queue and reports progress as data arrives. You can update hud.progress directly from that queue without switching to the main thread first.
Connect an NSProgress Object
If your task already uses an NSProgress object, you can connect it to the HUD and let the HUD update itself. Set hud.progressObject to your NSProgress object, and the HUD will watch it and update the bar as the progress changes. You do not need to update hud.progress yourself at all.
This approach works well for downloads and uploads that already report progress through NSProgress. Create the NSProgress object with the total number of units, update its completedUnitCount as the work progresses, and the HUD follows along. When the task finishes, hide the HUD on the main thread, just as you would with a spinner.
Show a Percentage in the Label
A bar alone is good, but a bar with a percentage is better. You can update the label text as the progress changes, so the user sees “45%” next to the bar. In Swift, write hud.label.text = “Downloading 45%” when the progress reaches 0.45. In Objective-C, write hud.label.text = [NSString stringWithFormat:@”Downloading %d%%”, (int)(progress * 100)].
Remember that label changes are interface work, so they must happen on the main thread. If you update the label from a background thread, switch to the main thread first with DispatchQueue.main.async in Swift, or dispatch_async with the main queue in Objective-C. The progress value itself can be set from the background, but the label cannot.
Hide the HUD When the Task Finishes
When the progress reaches 1.0, hide the HUD on the main thread. In Swift, write hud.hide(animated: true). In Objective-C, write [hud hideAnimated:YES]. You can also show a short success state before you hide it, such as switching the mode to custom view with a checkmark, but for most tasks, hiding the HUD right away is the right choice.
If the task fails, hide the HUD and show an error message instead. Do not leave the bar stuck at half full, because the user will not know what happened. A clear error message, such as “Download failed, please try again”, is much better than a frozen progress bar.
Update Progress from a URLSession Download
The most common place to use a progress bar is a file download with URLSession. When you start a download task, the system calls your delegate as data arrives, and each call tells you how many bytes have arrived and how many bytes the file has in total. Divide the bytes received by the total bytes, and you get a progress value from 0.0 to 1.0. Set hud.progress to that value, and the bar fills as the download runs.
If the server does not tell you the total file size, you cannot compute a real progress value. In that case, switch the HUD back to the indeterminate spinner mode, so the user sees that work is happening without a false promise about how much is left. A spinner that is honest is better than a bar that guesses, because a bar that jumps or stalls makes the user think the app is broken.
Here is a short checklist for a clean progress bar:
- Confirm you picked a determinate mode: bar, horizontal bar, or annular ring
- Confirm you set the progress value from 0.0 to 1.0 as the task runs
- Confirm you connect an NSProgress object when your task already uses one
- Confirm you update the label on the main thread if you show a percentage
- Confirm you hide the HUD on the main thread when the task finishes
- Confirm you show an error message if the task fails, instead of leaving the bar stuck
Conclusion
Showing a progress bar with MBProgressHUD is a small step up from showing a spinner, and it makes a big difference to the user. Pick a determinate mode, set the progress value from 0.0 to 1.0 as the work runs, and hide the HUD on the main thread when the task finishes. You can update progress from a background thread, connect an NSProgress object so the HUD updates itself, and show a percentage in the label for extra clarity. A bar that fills up tells the user the app is working and how much is left, and that is the kind of feedback that keeps users patient and happy.
Read next: How to Show a Loading Indicator with MBProgressHUD, How to Customize MBProgressHUD, MBProgressHUD Modes Explained

Pingback: How to Customize MBProgressHUD
Pingback: MBProgressHUD Modes Explained