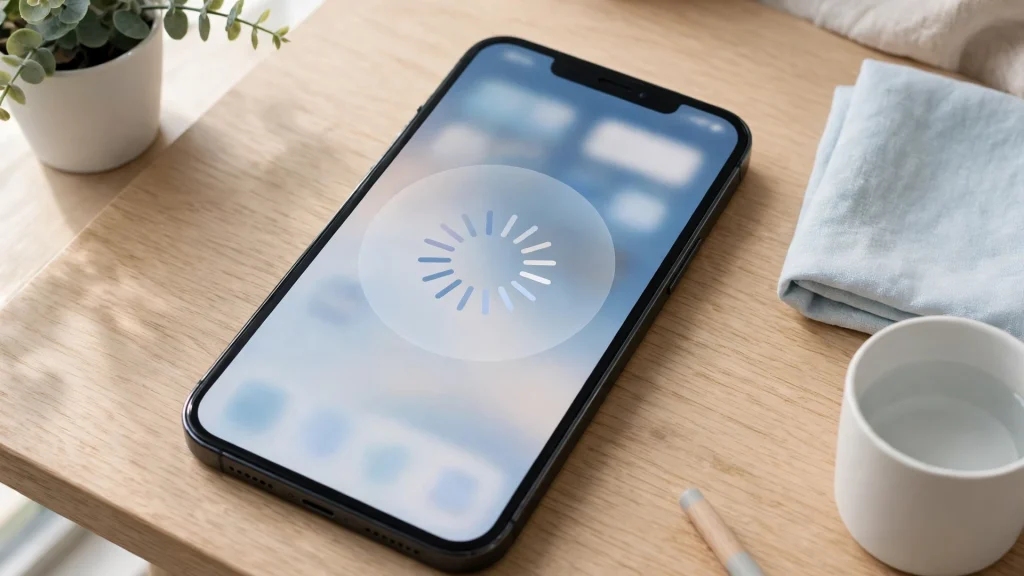
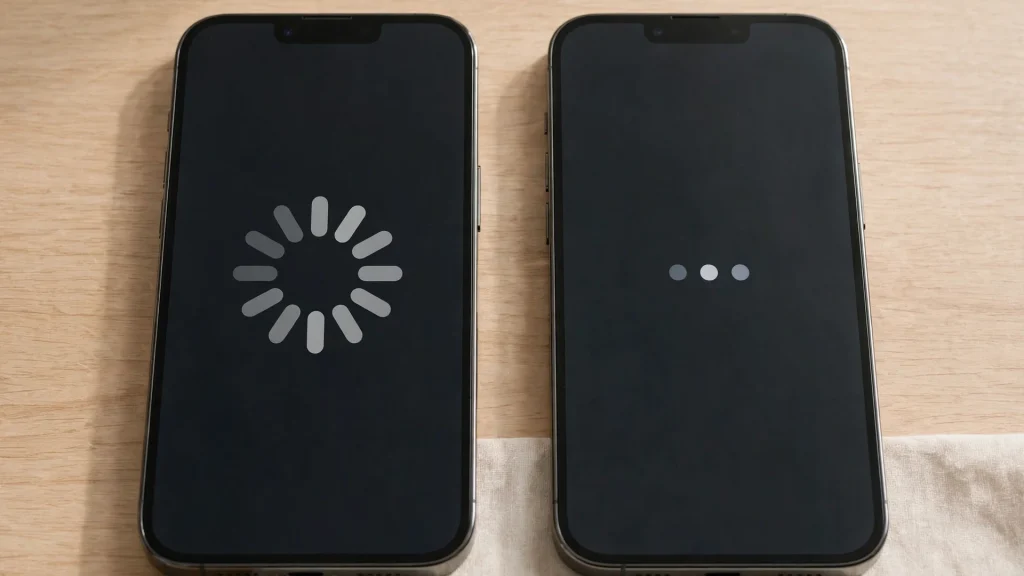
If you build iOS apps today, you will meet two ways to show a loading indicator: MBProgressHUD, the classic Objective-C library that has been around for years, and SwiftUI ProgressView, the built-in view that Apple added in iOS 14. Both show a spinner while work runs, and both are free. They are not the same tool, though, and the differences matter for how you work. This guide compares them fairly, so you can pick the one that fits your app, or use both in different parts of it.
Start with what they share. Both tools show a loading indicator while a background task runs. Both are free to use, and both are used by developers around the world. Both work on modern iOS, and both can show a spinner or a progress bar. If you use either one, the user will see that the app is working. The choice is not about which tool is good and which is bad. It is about which workflow fits your project better.
What MBProgressHUD Is Best At
MBProgressHUD is best when you work in UIKit, especially in an existing app with view controllers. You show it with one line of code, and it floats above your interface with a dimmed background, a label, and a details label. It offers a spinner, a progress bar, a horizontal bar, a ring, a custom view, and text only, all in one small library. You can customize the colors, fonts, animation, grace time, and minimum show time.
MBProgressHUD is also best when you need a HUD that blocks interaction while work runs. The dimmed background tells the user the app is busy, and it discourages tapping until the task finishes. That behavior is useful for logins, payments, and other tasks where the user should wait. The library is written in Objective-C, it works in Swift projects through a module import or a bridging header, and it requires iOS 9.0 or later with ARC.
What SwiftUI ProgressView Is Best At
SwiftUI ProgressView is best when you build a new app in SwiftUI. It is built into the system, so you do not need to install anything, and you do not need a third-party library at all. You add it to your view like any other SwiftUI view, and it shows a spinner or a progress bar. For iOS 14 and later, it is the simplest choice, because it is already there.
ProgressView fits the SwiftUI way of building interfaces. You control it with state, just like every other view in SwiftUI. When a task starts, you set a state variable to true, and the ProgressView appears. When the task finishes, you set the state to false, and it disappears. There is no separate show and hide call, and no main thread rule to remember, because SwiftUI handles the updates for you.
Ease of Use Compared
On ease of use, the winner depends on your framework. In UIKit, MBProgressHUD wins, because it takes one line to show a polished HUD with a label and a dimmed background. In SwiftUI, ProgressView wins, because it is a normal view that fits the declarative style, and you do not need to install anything.
On setup, ProgressView is simpler, because there is nothing to install. MBProgressHUD needs Swift Package Manager, CocoaPods, Carthage, or the source files, and in Swift you need a module import or a bridging header. That setup takes a few minutes, but it is a one-time cost. Once it is installed, showing the HUD is just as easy as using ProgressView.
Features and Customization Compared
On features, MBProgressHUD offers more out of the box. It has six modes, a label and details label, a dimmed background, a grace time, a minimum show time, and a custom view mode for checkmarks and other icons. ProgressView is simpler. It shows a spinner or a progress bar, and you can style it with standard SwiftUI modifiers, but it does not have a built-in dimmed background, a grace time, or a minimum show time. You can build those yourself in SwiftUI, but you have to write the code.
On threading, ProgressView is easier, because SwiftUI updates the interface for you. With MBProgressHUD, you must show and hide the HUD on the main thread yourself, and run the slow work on a background queue. That rule is simple once you learn it, but it is one more thing to remember.
The Legacy Question
MBProgressHUD is a stable library, and its latest version is 1.2.0, released in January 2020. It has not changed much since then, because it does not need to change. It does its job well, and it works on iOS 9.0 and later. ProgressView is newer, and it is part of the system, so it will keep getting updates from Apple. If you build a new SwiftUI app, ProgressView is the future-proof choice. If you maintain an existing UIKit app, MBProgressHUD is still a solid choice, and it will keep working for years.
That shared status means you should pick based on your project, not on the future. Neither tool is going away. MBProgressHUD still works on every modern iOS version, and ProgressView is built into the system. Pick the one that fits the framework you already use.
Which Loading Indicator Fits Your App
Choose MBProgressHUD if you work in UIKit, if you want a floating HUD with a dimmed background and a label, if you need six modes in one library, or if you want a grace time and a minimum show time without writing them yourself. Choose SwiftUI ProgressView if you build a new app in SwiftUI, if you want a built-in view with no third-party dependency, or if you want the indicator to behave like any other SwiftUI view.
Choose both if you can. Use MBProgressHUD in your UIKit screens, and use ProgressView in your SwiftUI screens. Many apps mix UIKit and SwiftUI, and each framework has its own natural choice. The user will not notice the difference, because both show a clean loading indicator while work runs.
Here is a short comparison to keep beside your desk:
- MBProgressHUD: UIKit library, floating HUD with dimmed background, six modes, label and details label, grace time and minimum show time, needs install
- SwiftUI ProgressView: built into iOS 14 and later, no install needed, spinner or progress bar, fits the SwiftUI state model, no built-in dimming or grace time
- Both: free, show a spinner or a progress bar, work on modern iOS, keep the user informed while work runs
- Both: need a background queue for the slow work, so the interface stays responsive
- MBProgressHUD fits UIKit apps, while ProgressView fits SwiftUI apps
- Only show a loading indicator for real work, with either tool
Conclusion
MBProgressHUD and SwiftUI ProgressView are both strong ways to show a loading indicator, and the best choice depends on your project. MBProgressHUD is the better tool for UIKit apps, with its floating HUD, dimmed background, six modes, and built-in timing options. ProgressView is the better tool for SwiftUI apps, because it is built into the system, needs no install, and behaves like any other SwiftUI view. Both are free, both show a spinner or a progress bar, and both keep the user informed while work runs. Use MBProgressHUD when you work in UIKit, use ProgressView when you work in SwiftUI, and use both when your app mixes the two.
Read next: What Is MBProgressHUD?, MBProgressHUD Modes Explained, MBProgressHUD Not Working? Common Errors and Fixes