
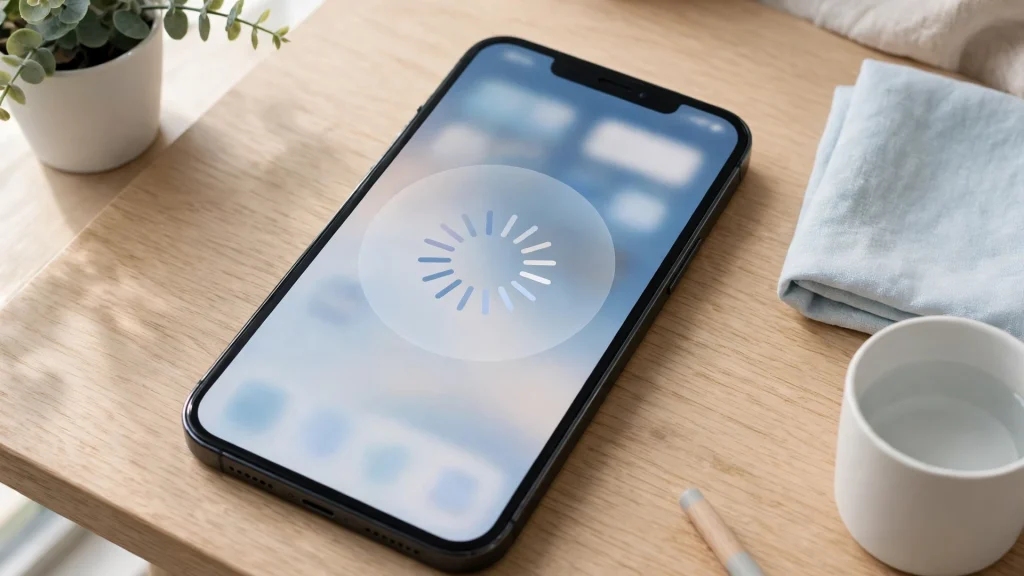
If you build iOS apps, you have seen the moment when your app needs a few seconds to finish something, and the user just stares at a frozen screen. They tap again, then again, and then they think the app is broken. A small loading indicator fixes all of that. It tells the user that work is happening and they should wait a little longer. MBProgressHUD is one of the most popular ways to show that indicator in an iOS app, and it has been around for years. This guide explains what MBProgressHUD is, what it does, and when it makes sense to use it in your own app.
MBProgressHUD is a free, open-source iOS class that shows a translucent heads-up display, often called a HUD, on top of your app’s interface. It was created by Matej Bukovinski. It displays a progress indicator, such as a spinning wheel or a progress bar, along with an optional label and a details label. You show it while a background task runs, and you hide it when the task finishes. The whole point is simple: the user always knows the app is busy, so they wait instead of tapping around or quitting.
What MBProgressHUD Does
At its core, MBProgressHUD puts a small floating box on the screen. Inside that box you can show a spinner, a progress bar, a ring, a custom view, or just text. Around the box, the rest of your screen dims slightly, which tells the user that the app is working and they should not tap anything yet. The HUD floats above everything else, so it works on any screen in your app. You add it to a view, show it, and remove it when you are done.
The most common use is a network request. Your app asks a server for data, and that takes a second or two. Without an indicator, the user sees nothing happening. With MBProgressHUD, they see a spinner and a label that says something like “Loading”, and they understand what is going on. The same idea works for saving a file, uploading a photo, logging in, or any task that takes longer than a blink.
Why Developers Still Use It
MBProgressHUD has been around since the early days of iOS development, and it is still used in many apps today. One reason is that it is simple. You can show a basic spinner with a single line of code. There is no complex setup, no long configuration, and no design work needed. The default look is clean and professional, and it fits most apps without any changes.
Another reason is that it is flexible. The default spinner covers the simple case, but you can switch to a determinate progress bar when you know how much work is left. You can show a ring that fills up as a download progresses. You can show a custom view, such as a checkmark when a task succeeds. You can change the text, the colors, the fonts, and the timing. That range means one small library can cover almost every loading state in your app.
How It Fits Into Your Project
MBProgressHUD is written in Objective-C, and it works in both Objective-C and Swift projects. If you write your app in Swift, you can use it through a bridging header or by importing it as a module. It requires iOS 9.0 or later and ARC, which every modern project already uses. It depends only on Foundation, UIKit, and CoreGraphics, and Xcode templates already include those, so you do not need to add extra frameworks yourself.
You can install it in several ways. Swift Package Manager is the modern choice: you add the package from the GitHub repository and link the library to your app target. CocoaPods is the classic choice: you add one line to your Podfile and run pod install. Carthage is another option if you already use it. You can also just drop the two source files, MBProgressHUD.h and MBProgressHUD.m, straight into your Xcode project. Each method works, and the install guides in this series walk through them step by step.
The Basic Pattern You Will Use Every Day
The everyday pattern has three steps. First, you show the HUD on the main thread, right before the slow work starts. Second, you run the slow work on a background queue, so the interface stays responsive. Third, when the work finishes, you hide the HUD back on the main thread. That is the whole pattern, and once you learn it, you will use it everywhere.
One rule matters more than any other: all show and hide operations must run on the main thread. The HUD is a user interface element, and UIKit only allows interface work on the main thread. If you try to show or hide it from a background thread, you will get strange behavior or a crash. A few setters are thread-safe from background threads, such as setMode and setProgress, but show and hide are not. The guides in this series show the exact code for both Objective-C and Swift.
What It Is Not
MBProgressHUD is not a full loading screen, and it is not a replacement for good app design. It is a small indicator for short tasks. If a task takes a long time, you should show real progress, not just a spinner, so the user knows how much is left. If a task fails, you should tell the user what went wrong, not just hide the spinner and leave them guessing. The HUD is a tool for communication, and it works best when it is honest about what is happening.
It is also not meant for every view. You should not add it to a UITableView or a UICollectionView, because those views change their subviews in unexpected ways and can break the HUD display. Add it to a plain view or to the window instead. That one rule saves you from a confusing bug that is hard to track down.
The Modes You Can Choose From
MBProgressHUD offers several display modes. The default is an indeterminate spinner, which means the HUD spins without showing how much work is left. That fits tasks where you do not know the total, such as waiting for a server to answer. The determinate mode shows a progress bar that fills from empty to full. The determinate horizontal bar mode shows a thin bar. The annular determinate mode shows a ring that fills around a circle. The custom view mode lets you show any view you want, such as an image. The text only mode shows a label with no indicator at all.
Choosing the right mode is part of good design. Use the spinner when you cannot measure progress. Use the bar or ring when you can, because a user who sees progress is more patient than a user who sees only a spinner. The modes guide in this series explains each one with examples.
Here is a short checklist to decide if MBProgressHUD fits your app:
- Confirm you build for iOS 9.0 or later with ARC enabled
- Confirm you want a simple HUD for short background tasks
- Confirm you will show and hide it only on the main thread
- Confirm you will add it to a plain view or window, not a table or collection view
- Confirm you will use a progress mode when you can measure how much work is left
- Confirm you are comfortable using an Objective-C library in a Swift project if needed
Conclusion
MBProgressHUD is a free, open-source iOS class that shows a translucent heads-up display with a progress indicator and optional labels while background work runs. It was created by Matej Bukovinski, it is written in Objective-C, and it works in Swift projects too. You show it on the main thread, run the slow work in the background, and hide it when the work finishes. It offers a spinner, progress bars, a ring, a custom view, and text only, and you can customize the labels, colors, fonts, and timing. It is not a full loading screen, and it does not belong on a table or collection view, but for short tasks it is one of the simplest and most reliable tools in iOS development. If your app ever makes the user wait, MBProgressHUD is worth adding to your project.
Read next: How to Install MBProgressHUD with Swift Package Manager, How to Install MBProgressHUD with CocoaPods, How to Show a Loading Indicator with MBProgressHUD

Pingback: Install MBProgressHUD with Swift Package Manager
Pingback: MBProgressHUD vs SwiftUI ProgressView Compared