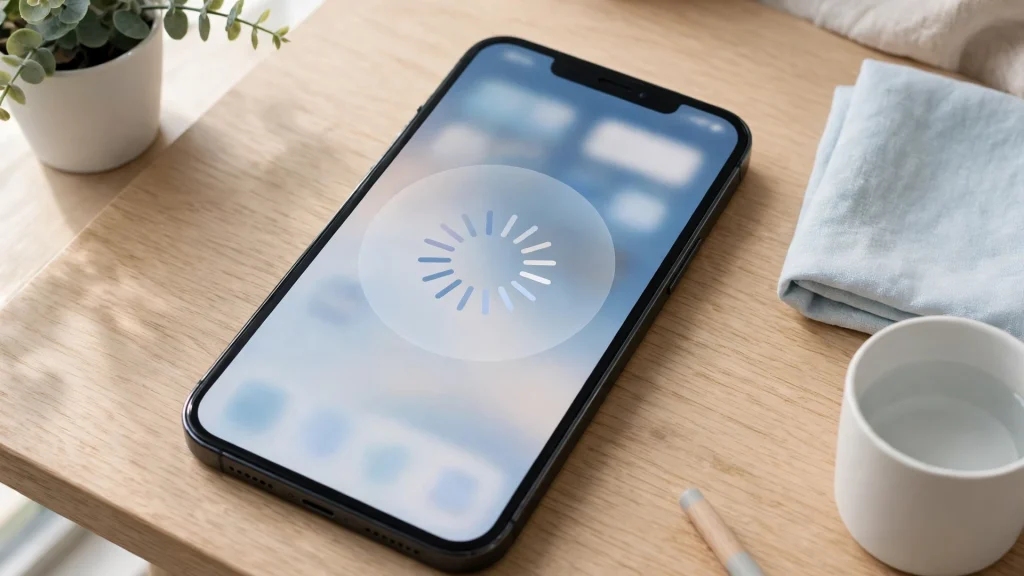
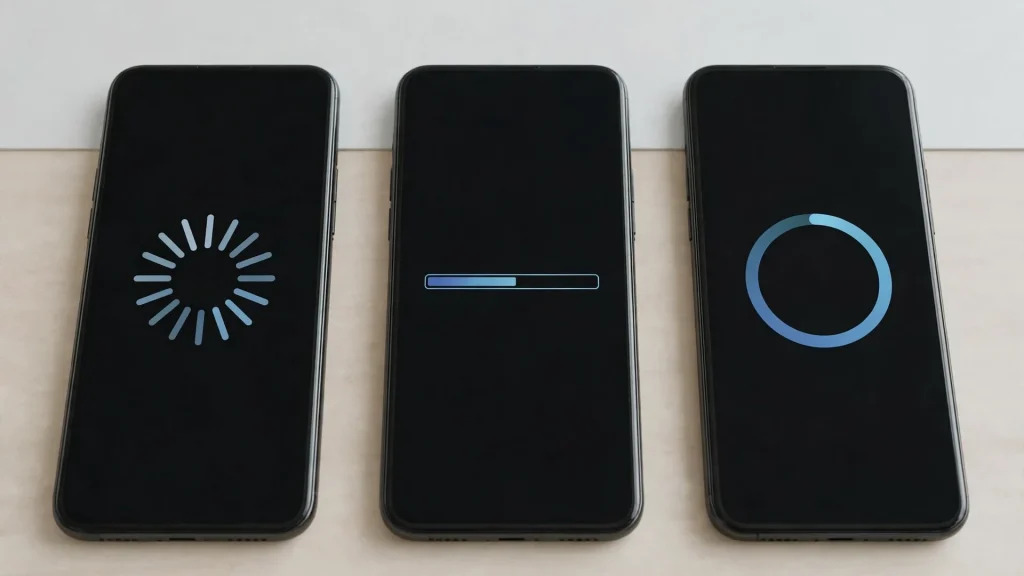
MBProgressHUD can show a spinner, a progress bar, a ring, a custom view, or just text. Each of those is called a mode, and each one fits a different kind of task. Picking the right mode is part of good design, because the mode tells the user what is happening and how long the wait will be. This guide explains every mode, shows you the code to use it, and helps you choose the right one for each situation in your app.
Before you start, make sure MBProgressHUD is installed and imported in your view controller. The install guides in this series cover Swift Package Manager, CocoaPods, and the other methods. The library requires iOS 9.0 or later and ARC. You set the mode on the HUD object, usually right after you create it and before you show it. The code in this guide works in both Swift and Objective-C.
Indeterminate Mode: The Spinner
The indeterminate mode is the default, and it shows a spinning wheel. It means the app is working, but it does not know how much work is left. Use it when you cannot measure progress, such as waiting for a server to answer a request. The user sees the spinner and understands the app is busy, even though they cannot see how much is left.
In Swift, you set the mode with hud.mode = .indeterminate, though you can skip this line entirely, because indeterminate is the default. In Objective-C, you write hud.mode = MBProgressHUDModeIndeterminate. The spinner is the safest choice when you are not sure which mode to use, because it never promises progress it cannot measure.
Determinate Mode: The Progress Bar
The determinate mode shows a round progress indicator that fills as the work progresses. It is a pie-style indicator, and it fills from empty to full as the progress value moves from 0.0 to 1.0. Use it when you know the total amount of work, such as a file download with a known size. The user sees the bar filling and knows how much is left.
In Swift, set hud.mode = .determinate, then update hud.progress as the task runs. In Objective-C, set hud.mode = MBProgressHUDModeDeterminate, then update hud.progress. The progress value is a float from 0.0 to 1.0. A value of 0.5 means the task is half done. You can update progress from a background thread, because the setProgress setter is thread-safe.
Determinate Horizontal Bar Mode: The Thin Bar
The determinate horizontal bar mode shows a thin bar that fills from left to right. It looks like a classic download bar, and it fits well under a label. Use it when you want a wide indicator that reads clearly, such as an upload or a download screen. It shows the same information as the determinate mode, but in a horizontal shape that feels more like a traditional progress bar.
In Swift, set hud.mode = .determinateHorizontalBar. In Objective-C, set hud.mode = MBProgressHUDModeDeterminateHorizontalBar. Update hud.progress the same way as the determinate mode. The bar is a good choice when you have room for a wide indicator and you want the progress to be obvious at a glance.
Annular Determinate Mode: The Ring
The annular determinate mode shows a ring that fills around a circle. It looks modern, and it matches the style of the spinner, so it feels consistent with the rest of the HUD. Use it when you want a determinate indicator that looks like the default spinner, but shows real progress. It works well for downloads, uploads, and any task where you can measure progress.
In Swift, set hud.mode = .annularDeterminate. In Objective-C, set hud.mode = MBProgressHUDModeAnnularDeterminate. Update hud.progress the same way as the other determinate modes. The ring is a good choice when you want a compact indicator that still shows progress clearly.
Custom View Mode: Show Anything
The custom view mode lets you show any view you want inside the HUD. The most common use is a checkmark that appears when a task succeeds, or a cross that appears when a task fails. You create a view, such as a UIImageView with a checkmark image, and assign it to the HUD. In Swift, write hud.customView = UIImageView(image: UIImage(named: “checkmark”)) and hud.mode = .customView. In Objective-C, write hud.customView = [[UIImageView alloc] initWithImage:[UIImage imageNamed:@”checkmark”]] and hud.mode = MBProgressHUDModeCustomView.
You can also use a custom view for a logo, an icon, or any other visual that fits your task. Keep it simple. A small checkmark or a simple icon works better than a complex image, because the HUD is small and the user sees it for only a moment.
Text Only Mode: Just a Message
The text only mode shows a label with no indicator at all. Use it when you want to show a short message, such as “Saved” or “Done”, without a spinner or a bar. It is a clean way to confirm that a task finished, and it disappears after a short time. In Swift, set hud.mode = .text and hud.label.text = “Saved”. In Objective-C, set hud.mode = MBProgressHUDModeText and hud.label.text = @”Saved”.
For a text only message, you should hide the HUD after a short delay, such as one or two seconds, so the user has time to read it. In Swift, write hud.hide(animated: true, afterDelay: 1.5). In Objective-C, write [hud hideAnimated:YES afterDelay:1.5]. That delay gives the user a moment to see the message before it fades away.
Switch Modes While the HUD Is Showing
You do not have to pick one mode and keep it for the whole task. You can start with the spinner while you wait for a server to answer, then switch to a determinate bar once the download starts and you know the total size. To switch, just set hud.mode to the new value. The setMode setter is thread-safe, so you can change it from a background thread, though changing it on the main thread is the clearest way.
Switching modes is useful when a task has stages. The first stage may have no measurable progress, so the spinner fits. The second stage may have a known total, so the bar fits. The user sees the HUD change from a spinner to a filling bar, and that change tells them the task has moved forward. It is a small detail, but it makes the app feel responsive and honest about what is happening.
Here is a short checklist for picking the right mode:
- Confirm you use the spinner when you cannot measure how much work is left
- Confirm you use a determinate mode when you know the total amount of work
- Confirm you pick the bar, horizontal bar, or ring based on the space and style you want
- Confirm you use a custom view for a success or failure icon, such as a checkmark
- Confirm you use text only for a short confirmation message, and hide it after a short delay
- Confirm you update the progress value from 0.0 to 1.0 for every determinate mode
Conclusion
MBProgressHUD offers six modes, and each one fits a different task. The indeterminate spinner is the default and fits tasks where you cannot measure progress. The determinate, determinate horizontal bar, and annular determinate modes show real progress from 0.0 to 1.0, and they fit downloads, uploads, and any task with a known total. The custom view mode lets you show a checkmark or any other view, and the text only mode shows a short message with no indicator. Pick the mode that matches what you know about the task, update the progress as the work runs, and hide the HUD when the task finishes. The right mode tells the user what is happening and how long the wait will be, and that is the kind of feedback that makes an app feel polished.
Read next: How to Show a Progress Bar with MBProgressHUD, How to Customize MBProgressHUD, MBProgressHUD vs SwiftUI ProgressView: Which Fits Your App?